Happy Habitat Rebuilding Day!

Status
Not open for further replies.

Madkins007

Well-Known Member
Moderator
10 Year Member!
Joined
Feb 15, 2008
Messages
5,393
Location (City and/or State)
Nebraska
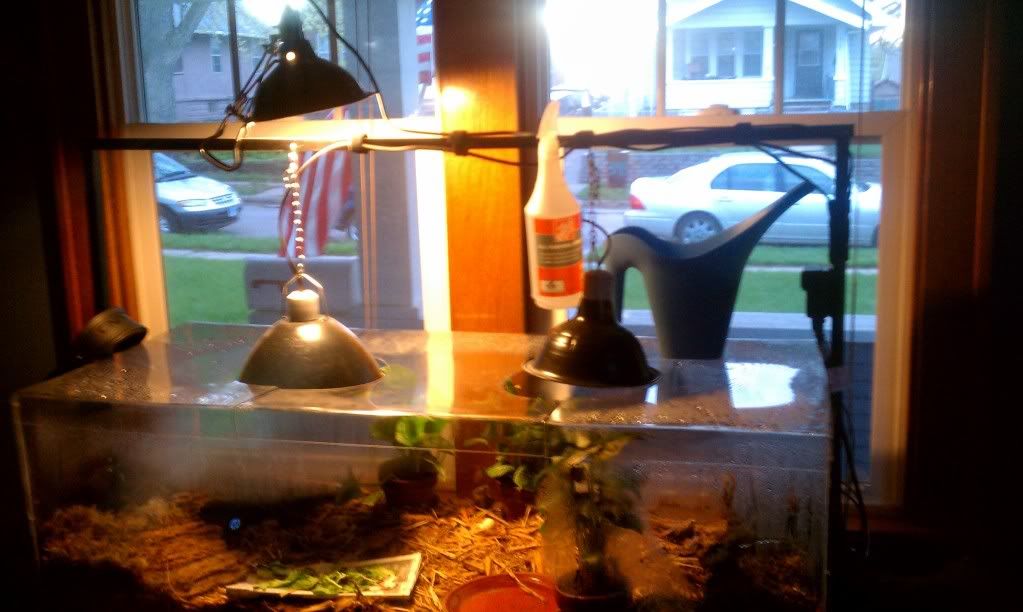
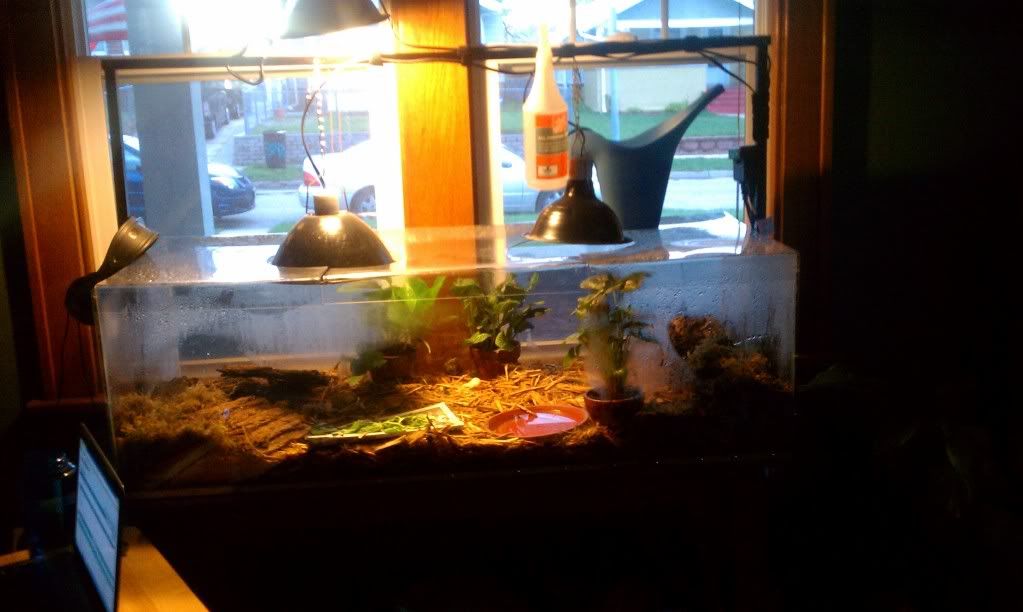
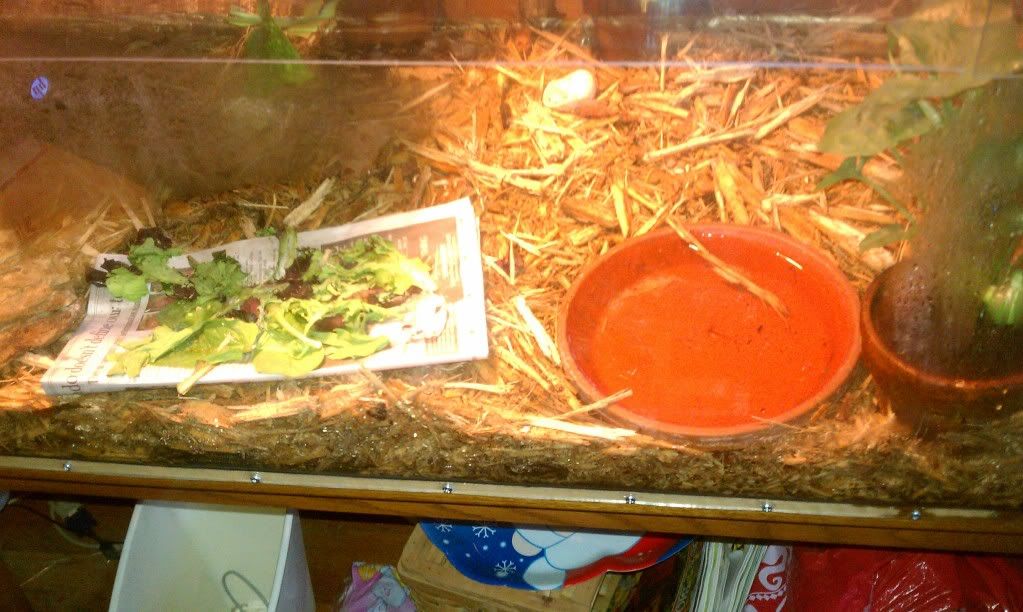
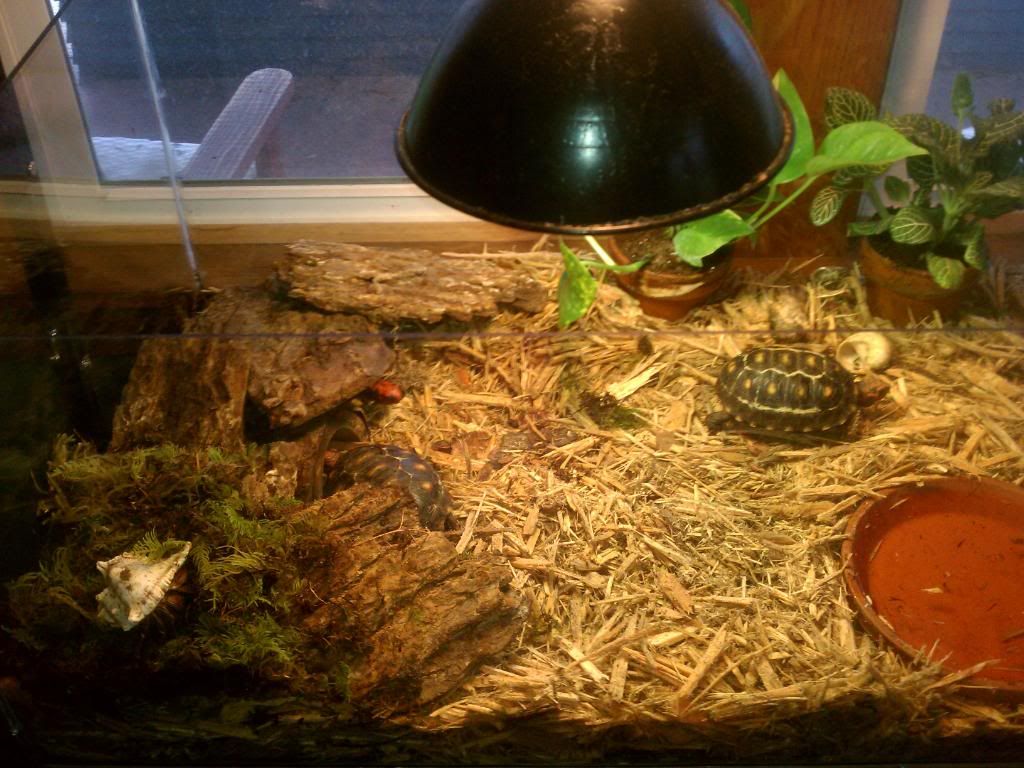
Since October 2010, my little Cherryheads and hermit crabs have slowly managed to decimate my habitat, and the other day, the heating cable went out. So, it is Habitat Rebuilding Day, so designated by the Omaha Branch of the World-wide Association of Cherry-head Red-foot Keepers. (Membership info available upon request!)

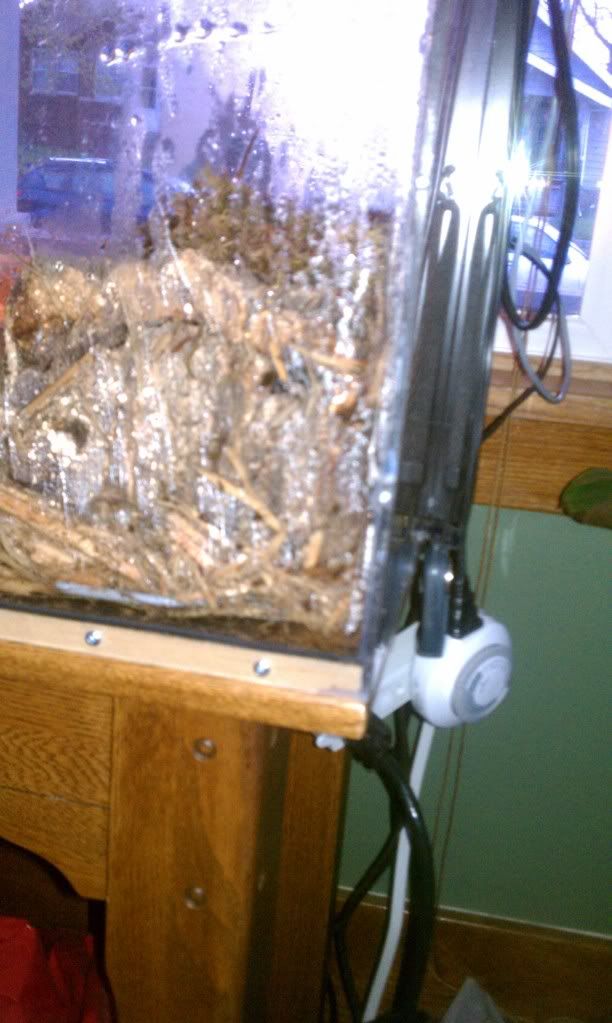
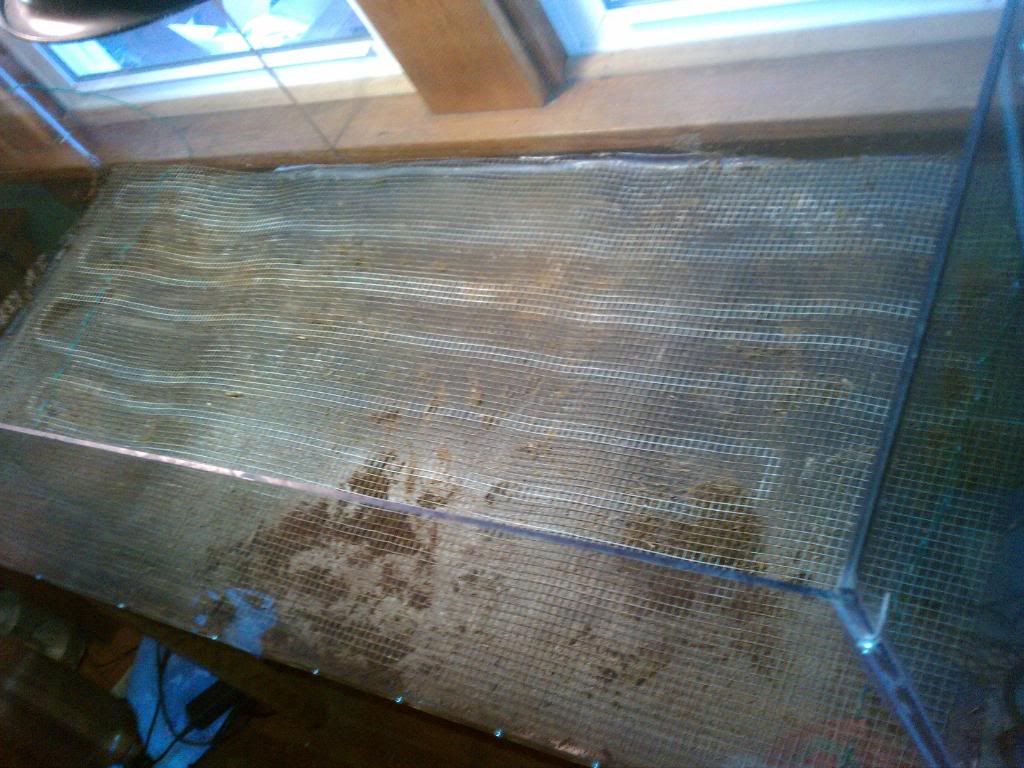
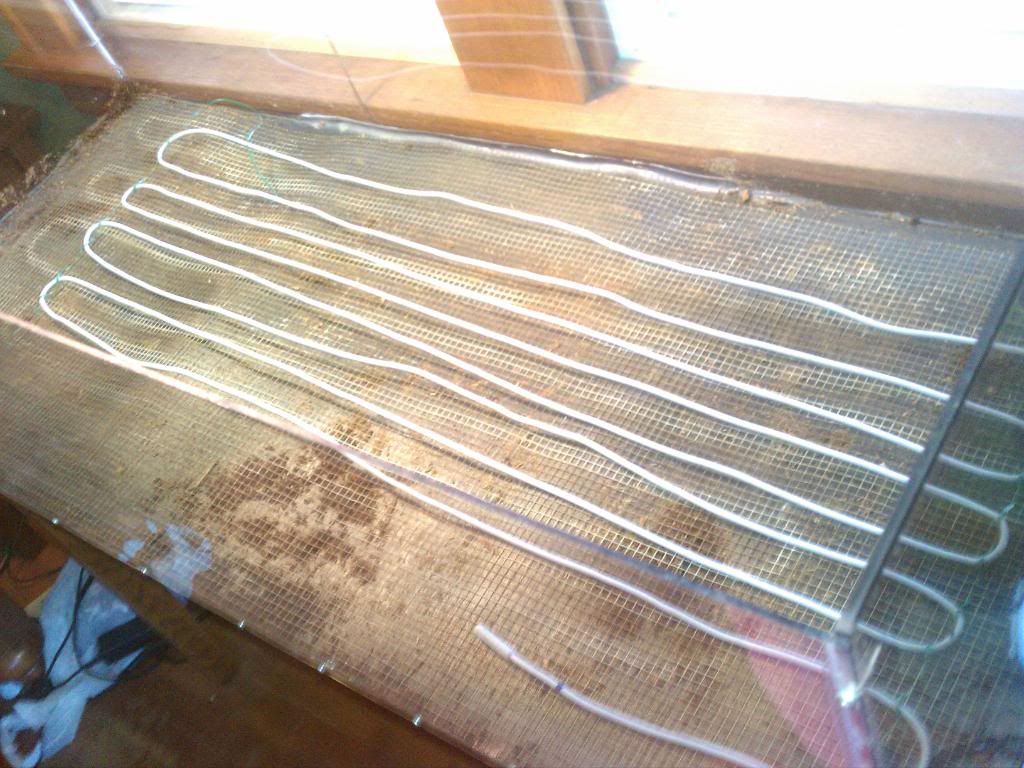
Right now, I am resting, planning, procrastinating, and really hoping that this miserable 50f weather will warm up against all forecasts. But soon, I will leap into a flurry of action- strip the habitat down, clean it well, recaulk the main joints, reinstall the heat cable, and rebuild. Piece o' cake!

I'll post before and after photos, as well as things like costs and why I am using the stuff I am after I'm done.
 

Edna

New Member
5 Year Member
Joined
Sep 12, 2010
Messages
1,536
Location (City and/or State)
Rawlins, Wyoming
Yes, Mark, it's a collossal undertaking, but your torts will be so appreciative once your done. I'm looking forward to pictures and the play-by-play!
 

Madkins007

Well-Known Member
Moderator
10 Year Member!
Joined
Feb 15, 2008
Messages
5,393
Location (City and/or State)
Nebraska
I forgot the 'before' photo and the act of taking photos screws up my 'flow', so...

IMG_20110423_170627.jpg


The naked tank- the basics are a wood base, 48"x20", with thick Lexan 20" high pieces screwed onto both ends, then some thin Lexan across the front and back, screwed at the bottom, and (using very small screws) into the ends. Some aluminum angle stock is bolted into both ends and across the top to hang the lighting from and to hold the other electrical elements.

IMG_20110423_175628.jpg


My under substrate heating plan uses waterproof cables, held in place by some hardware cloth. This is the chunk from last time.

IMG_20110423_175639.jpg


Last time I used wire ties to hold the cables, but it was a pain and hard to adjust. This time I wove some wire through every few holes so I could more easily adjust things. it appears as the green threads across one end and near the other.

IMG_20110423_180722.jpg


Heating cable in place. I left the end and a side unheated for cooler zones.

IMG_20110423_181805.jpg


2" of cypress, hides, and live moss in place, and tortoises and crabs back home. The plan is to pour water in the substrate, the cables heat it and it rises back up as warm humidity. The habitat is about 80-90% covered, so the humidity mostly stays in.

IMG_20110423_182729.jpg


Plants in place. Notice the crab in the lower left, and the red nose up higher. Within an hour the whole thing was condensed over.
 

Zouave

Member
5 Year Member
Joined
Apr 5, 2011
Messages
376
Location (City and/or State)
Toronto
That is awesome! :nod: would that work with a topsoil style substrate or do the cables need the air pockets that cypress provides so they don't over heat? also, how long a cable is that for a 4x2 area?
 

Madkins007

Well-Known Member
Moderator
10 Year Member!
Joined
Feb 15, 2008
Messages
5,393
Location (City and/or State)
Nebraska
This is the cable I use- http://www.bigappleherp.com/Big-Apple-Flexible-Heat-Ropes

It is 9 meters for $27, and does not use a lot of electricity. You can vary the heat by spacing the cable, as well as by using a thermostat, which I always do (I hope I remembered to mention that somewhere above.)

If I took a photo of the habitat right now, you would mostly see a thick layer of condensation on the walls and a couple small viewing windows where the lamp and CHE are drying off the condensation nearest them.

When I open it up in the morning for feeding and fresh air (remember- it is not totally closed- there are two huge holes on top for the light domes to go through- they do not completely close the holes so there is about 10-20% open space), I feel a rush of warm, humid air flowing out.

I feed them, do any cleaning needed (not much usually), pour about 50 ounces of water into the mulch, mist the plants and moss, close it up and call it good for the day.

Zouave said:
That is awesome! :nod: would that work with a topsoil style substrate or do the cables need the air pockets that cypress provides so they don't over heat? also, how long a cable is that for a 4x2 area?

There is no need for air pockets- in fact, what is happening is that the cables are basically laying in a puddle of water most of the time. Heating the water is also how they heat the habitat- if it was dry in there, it would not heat as evenly or as safely.

If you use a soil substrate, check out the plans for a 'bioactive substrate'- it will give you much better results!

http://tortoiselibrary.com/indoorhousing.html down near the bottom.
 

luke

Member
5 Year Member
Joined
Feb 23, 2011
Messages
260
Location (City and/or State)
SoCal
Madkins007 said:
This is the cable I use- http://www.bigappleherp.com/Big-Apple-Flexible-Heat-Ropes

It is 9 meters for $27, and does not use a lot of electricity. You can vary the heat by spacing the cable, as well as by using a thermostat, which I always do (I hope I remembered to mention that somewhere above.)

If I took a photo of the habitat right now, you would mostly see a thick layer of condensation on the walls and a couple small viewing windows where the lamp and CHE are drying off the condensation nearest them.

When I open it up in the morning for feeding and fresh air (remember- it is not totally closed- there are two huge holes on top for the light domes to go through- they do not completely close the holes so there is about 10-20% open space), I feel a rush of warm, humid air flowing out.

I feed them, do any cleaning needed (not much usually), pour about 50 ounces of water into the mulch, mist the plants and moss, close it up and call it good for the day.

Zouave said:
That is awesome! :nod: would that work with a topsoil style substrate or do the cables need the air pockets that cypress provides so they don't over heat? also, how long a cable is that for a 4x2 area?

There is no need for air pockets- in fact, what is happening is that the cables are basically laying in a puddle of water most of the time. Heating the water is also how they heat the habitat- if it was dry in there, it would not heat as evenly or as safely.

If you use a soil substrate, check out the plans for a 'bioactive substrate'- it will give you much better results!

http://tortoiselibrary.com/indoorhousing.html down near the bottom.


I love your set up.

Can you describe starting from the lowest and working your way up. What are the layers of your "substrate"? Looks to me like you have a wire screen there. Is that because you are trying to isolate the gravel from the rest of the substrate? How thick is your layer of actual substrate?

If I understand you right its not advisable to use heat cables with a True bioactive substrate system where the plant roots go all the way down to the gravel. Its better to just let the plant extract the humidity from the substrate and keep it at tortoise level.

thanks for pics:tort:

oops I should have read more closly. Your are only using 2" of cypress. And your moss apears to be growing on top of your hides. I though you only had a top layer of cypress and some soil under that.
 

Madkins007

Well-Known Member
Moderator
10 Year Member!
Joined
Feb 15, 2008
Messages
5,393
Location (City and/or State)
Nebraska
From the bottom up: MDF board (1/2 or 3/4" thick- I forget), a sheet of rigid plastic over the top for waterproofing (and caulked to the edges).

Wire mesh to hold the cables in place- that is its only purpose. Originally I taped the cables to the plastic and it warped it a little. Waterproof heating cables.

2" of cypress mulch, although a soil or bioactive substrate should be OK (just leave a cool area for the roots when you run your heating cables)

Several chunks of bark (natural and store-bought cork) for hides. I used to add moss under them, but don't any more. They dig under and snuggle in- there are hides on the warm side and the cool side.

Live moss laid on the bark (it won't last long- the crabs and the torts like to dig in it), and some small foliage plants in ceramic pots for air conditioning, shade, and interest. If I needed more humidity, the plants and the clay pots would help.


I've been VERY happy with this set-up. Not much cost, not much work, LOTS of heat and humidity most of the time. On the very coldest days, I needed to add another small CHE and some bubble wrap insulation on the window side of the habitat (we keep our house pretty cool and the room is a bit drafty.)

I'll be sad when they finally outgrow it, but the current plan is to move 2 of them out to a similar-sized tub habitat, then to a large table-style habitat when those are too small.
 

Zouave

Member
5 Year Member
Joined
Apr 5, 2011
Messages
376
Location (City and/or State)
Toronto
Thanks for all the advice! I've had The :tort: Library bookmarked for a while now. :)

I'm planning a large table and exploring all options. I'd like to do a bio active substrate (definitely some worms but not too sure about the other creepy crawlies lol) and i want to make it rather deep so the only draw back i can see with the cabling is will it be effective 6 -10 inches deep and if there is a problem (shorted, burnt out etc.) it would be a pain to disassemble and reassemble as opposed to changing a fixture or bulb or CHE.

But i might come up with another use for that cabled grid design. :p
 

Madkins007

Well-Known Member
Moderator
10 Year Member!
Joined
Feb 15, 2008
Messages
5,393
Location (City and/or State)
Nebraska
In a bioactive substrate, wood lice (isopods, rolly polly bugs) are great! You'll never see them but they play a huge role in breaking down organic debris and preying on the eggs of pests.

A tortoise table with 6-10" of soil is going to be really, really heavy, especially when you add water. Is there a reason you are going that deep? If you are doing it for plants, there are other ways you can accomplish it. 3" is enough for many plants, and you can make a raised area for the bigger stuff.

Replacing a burnt-out cable is annoying- that is one reason I did the rebuild now instead of when it was nicer out, but it lasted a good 6 months of absolutely no attention or trouble, and the cypress was 'dead' anyway.
 

Tom

The Dog Trainer
10 Year Member!
Platinum Tortoise Club
Joined
Jan 9, 2010
Messages
63,484
Location (City and/or State)
Southern California
Can you show us a pic of the whole thing all put together with the top on it, lights in place and condensation. That is very similar to what I want to put together to try out on some hatchling sulcatas. After seeing some members results, with sulcatas, leopards, and redfoots too I'm really thinking there is real benefit to that style of "humidity chamber".

Thanks for the inspiration and example.
 

Zouave

Member
5 Year Member
Joined
Apr 5, 2011
Messages
376
Location (City and/or State)
Toronto
Madkins007 said:
In a bioactive substrate, wood lice (isopods, rolly polly bugs) are great! You'll never see them but they play a huge role in breaking down organic debris and preying on the eggs of pests.

A tortoise table with 6-10" of soil is going to be really, really heavy, especially when you add water. Is there a reason you are going that deep? If you are doing it for plants, there are other ways you can accomplish it. 3" is enough for many plants, and you can make a raised area for the bigger stuff.

Replacing a burnt-out cable is annoying- that is one reason I did the rebuild now instead of when it was nicer out, but it lasted a good 6 months of absolutely no attention or trouble, and the cypress was 'dead' anyway.
I don't want to take your thread to far off topic, but to answer your question yes, partly for plants and partly to allow natural burrowing activity. I plan on "landscaping" hills and valleys but since it must be rather difficult to predict with much certainty where they will "dig in" i figure minimum 3" maximum 10"- 12".

Again, this is all just pie in the sky planning and, yes please, lets see more pics! :)
 

Madkins007

Well-Known Member
Moderator
10 Year Member!
Joined
Feb 15, 2008
Messages
5,393
Location (City and/or State)
Nebraska
More photos, huh?

20114-.jpg

IMAG0004.jpg

Overall habitat photos. The thing is 48" long, and the actual habitat is 20" high, the light frame is another 20" above that.

From left to right the lights are a MVB-UVB set on a 6 hour day, the high one is a typical coiled fluorescent to balance the light and set on a 12 hour day, and the furthest right is a CHE.

My misting bottle hangs on the light rack, and the watering can is sitting on the lids. The small black box on the right-hand upright is the thermostat.

IMAG0005.jpg

Close up of a corner, showing how the front, thinner Lexan is screwed and caulked to the base and side pieces. You can also see the timers used to control the lights.

IMAG0006.jpg

Close up of the water dish and the folded newspaper I use for a feeding dish (so I can toss it after use- no cross contamination.)

IMAG0007.jpg

Close up of how I hang the lamps- S-hooks, chain, hole in lid...

IMAG0003.jpg

The lid is three panels with bends on the front and back. The two end pieces have a half-circle cut out, and the middle piece as two so they fit around the lights.

Notice that the holes are pretty big, so lots of loss of heat and humidity, but still LOTS of condensation. This is probably THE benefit of the substrate heating option.

By the way, the BEST sprayer combination is the spray head from the Walgreens '2 for $1' sprayers which have small, weak bottles, and a larger bottle from a garden sprayer which had a mediocre mist.
 

Edna

New Member
5 Year Member
Joined
Sep 12, 2010
Messages
1,536
Location (City and/or State)
Rawlins, Wyoming
Mark, I tried using the heat cable per instructions you posted a while back, and ended up removing it (actually someone suggested I let my torts get cooler at night anyway). I had 3 problems that I hope you will address.
1. Your hail screen looks nice and flat. Mine came on a roll and I could not get it flattened out, no matter what I did.
2. Caused mostly by the above problem, my cypress mulch seemed to work itself under the hail screen, so the screen did not stay on the bottom of my enclosure.
3. Handling the hailscreen caused a nasty dermatitis on my hands that took 6 weeks, lots a cortizone cream and a gazillion bandaids to clear up.

Your enclosure made with the lexan is beautiful. Do you heat it and bend it using a sheet metal break? Some other method?
 

Madkins007

Well-Known Member
Moderator
10 Year Member!
Joined
Feb 15, 2008
Messages
5,393
Location (City and/or State)
Nebraska
The hardware cloth does come in a roll, but I just rolled it up backwards to take the curve out. My screen is also about the same size as the habitat floor, so there is not much room for anything to work under.

As far as the dermatitis- are you allergic to some coating on it or something? Hardware cloth is often galvenized, and of course, there are lots of little sharp studs to be wary of.

I get the cooler temps at night by not running the cables under every hide area, and shutting off the overhead heating at night. One hide runs about 75F at night, while the other is around 80-85ish most of the time. I do not notice any patterns as to which hide they prefer.

The only bent parts are the three top pieces. I bent them by making a thin dotted line where I wanted the bend, using a hot air gun to get the plastic flexible right along the line, bending it over a table edge, and misting it to lock it in place. I bent it to a bit more than 90 degrees since it generally flexes back a bit as it cools.
 
Status
Not open for further replies.
Top