First off- thanks to everyone for their expertise and for being regular members who contribute. I was able to read/research a lot before building and this really gave me a lot of information. As a new member who knew nothing about tortoises, this was the best resource I was able to find.
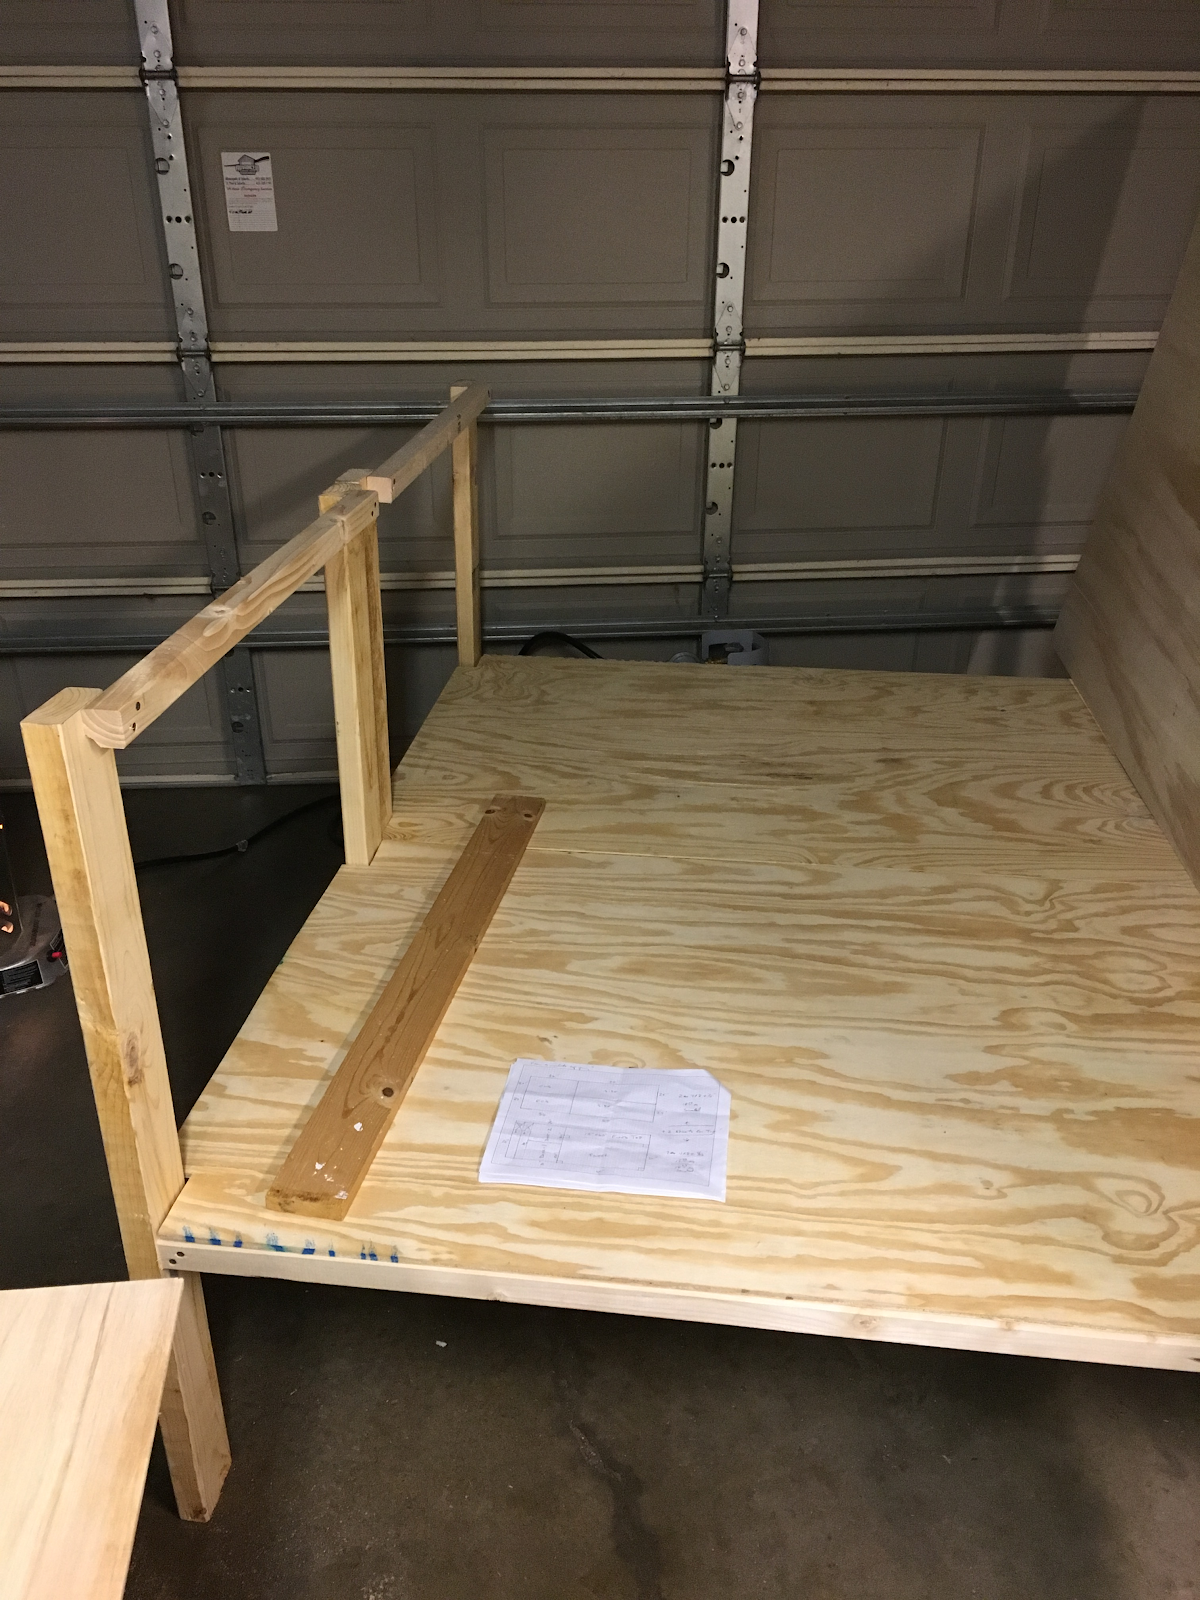
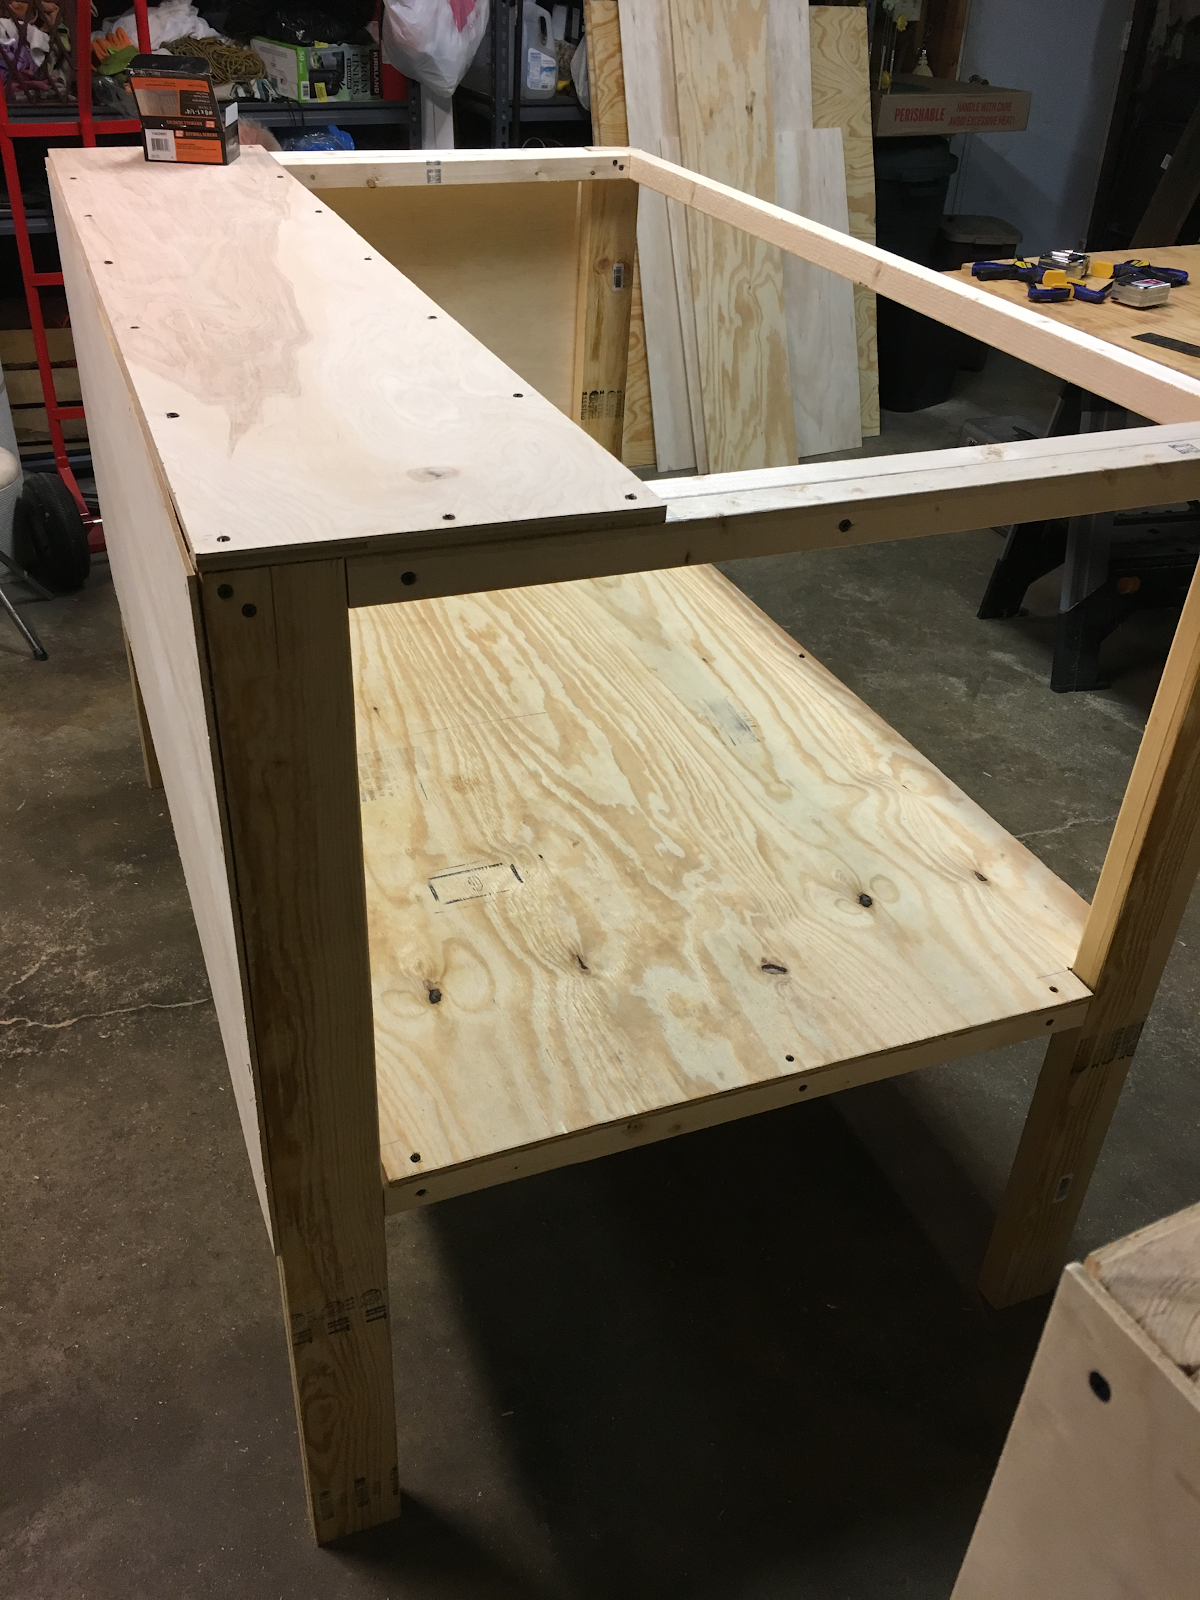
We had to design a tortoise enclosure that held heat and humidity, was waterproof, and also was detachable because of the dimensions we needed. The room we had to build it for only had space for a long enclosure- we determined that the maximum size we could do was 10’ x 3’.
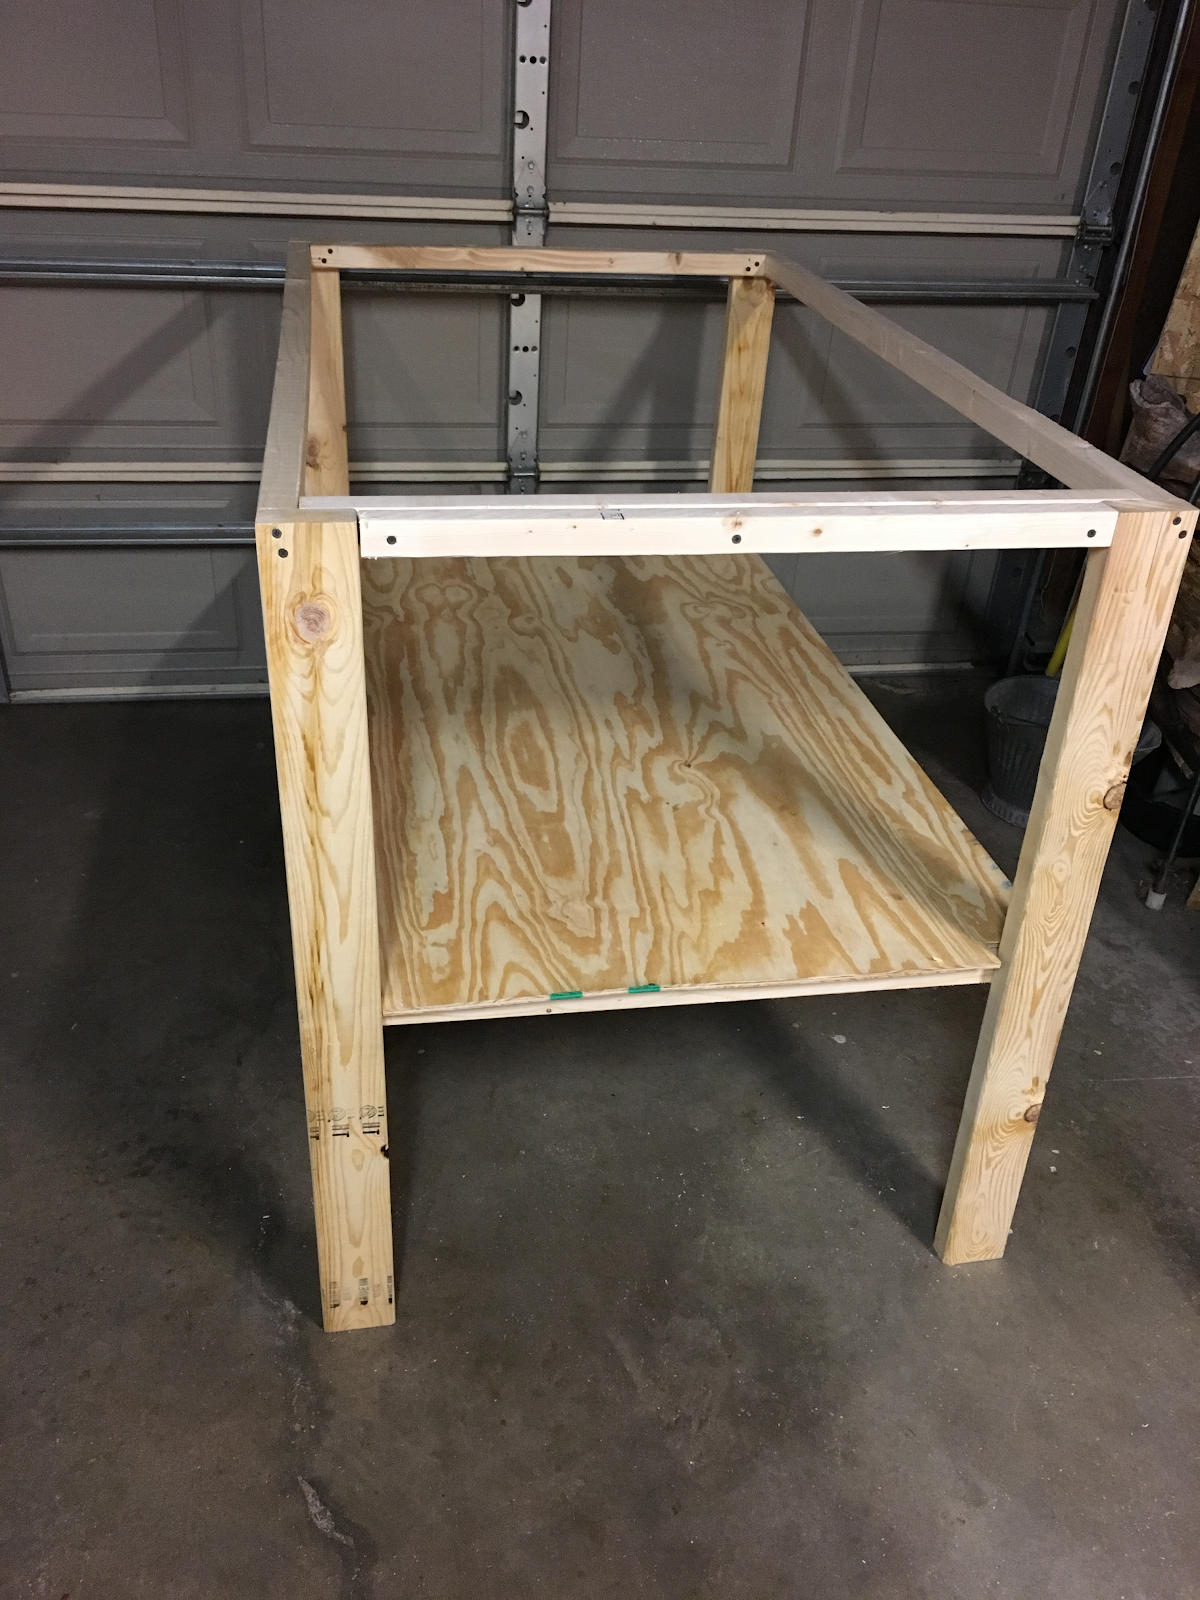
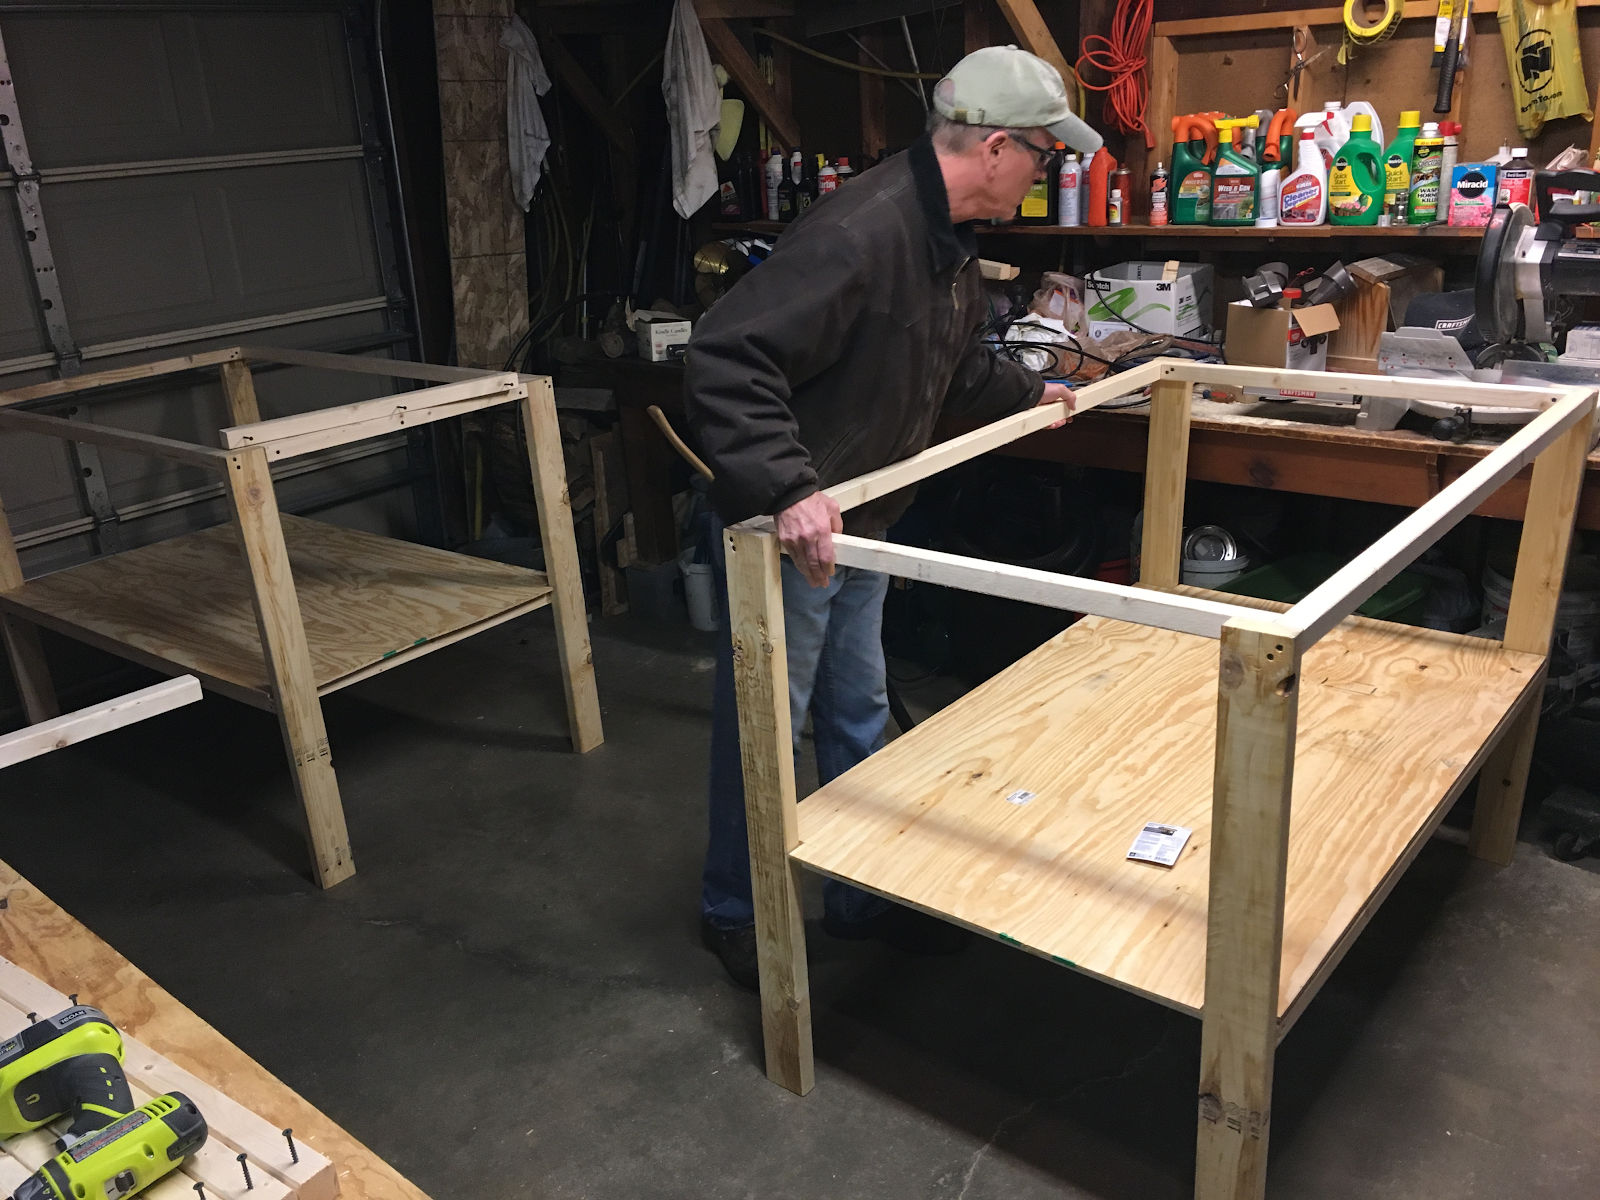
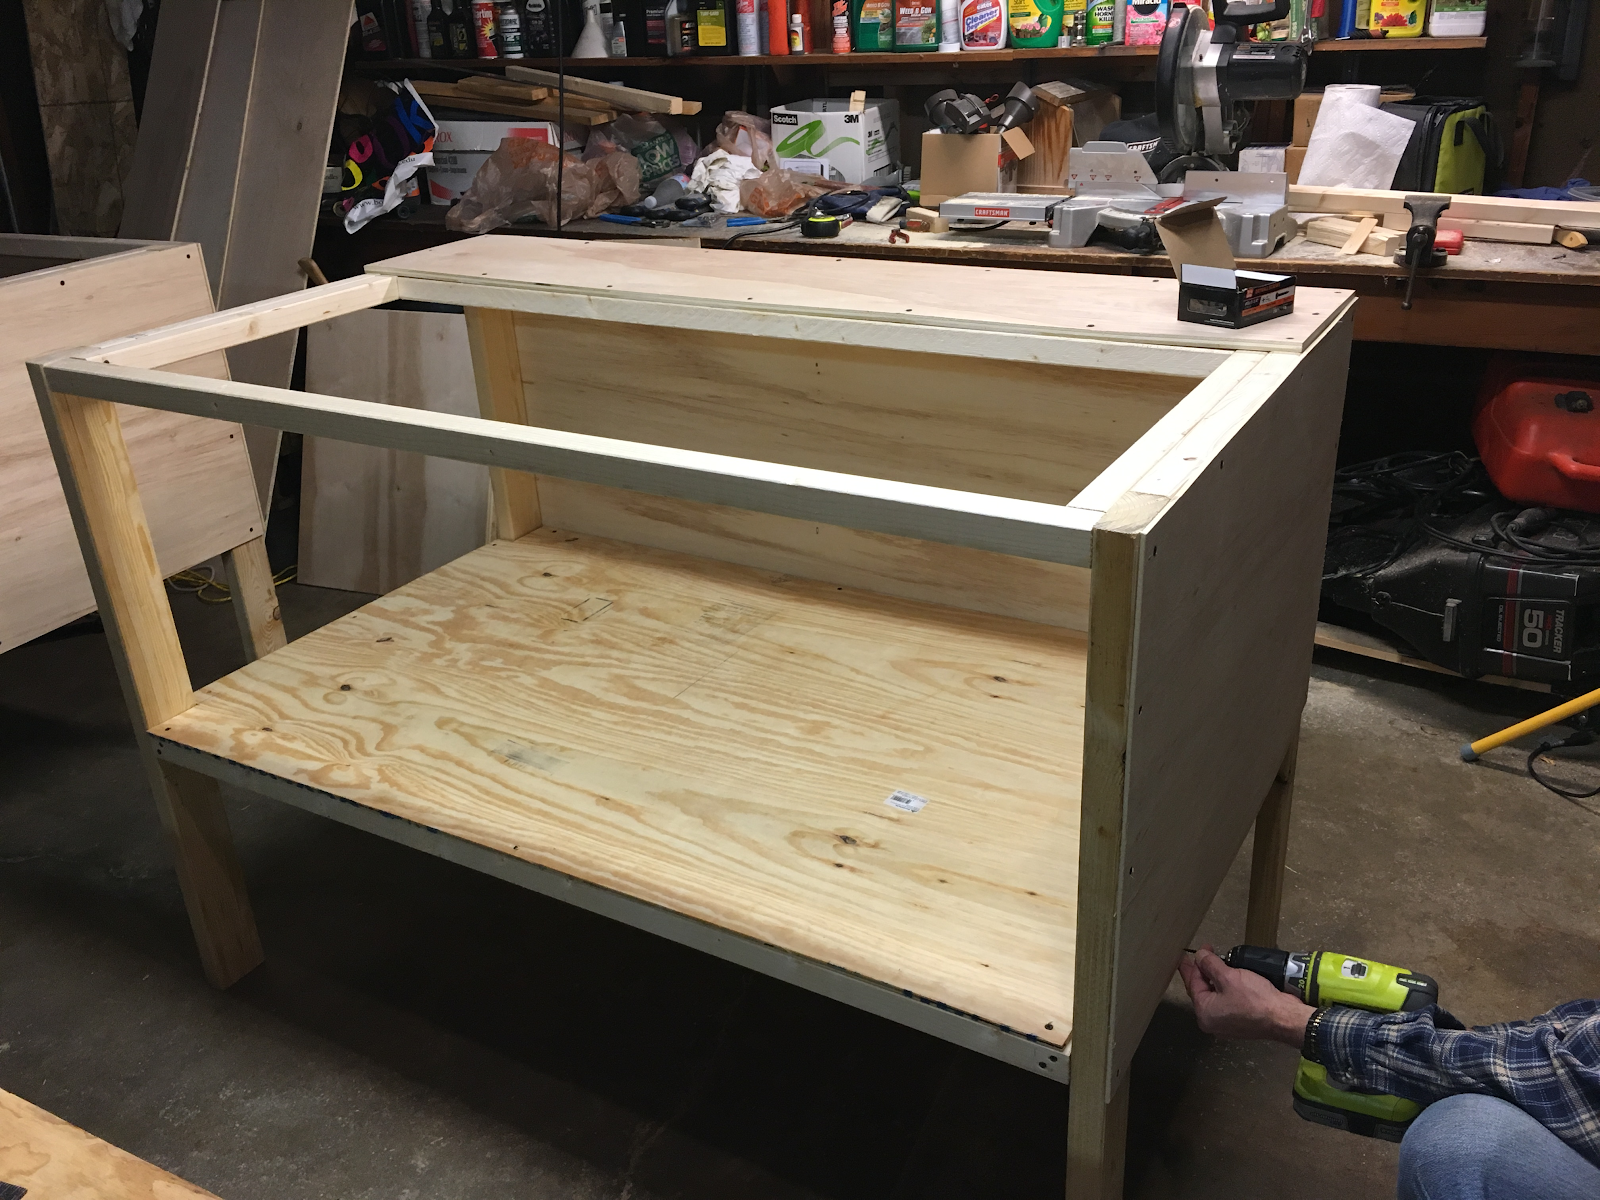
I had almost no experience with building, and enlisted my dad to help me. We determined that we would make two 5’ x 3’ boxes basically, and find a way to attach them in the middle. Below is a picture of starting the frames of both pieces.
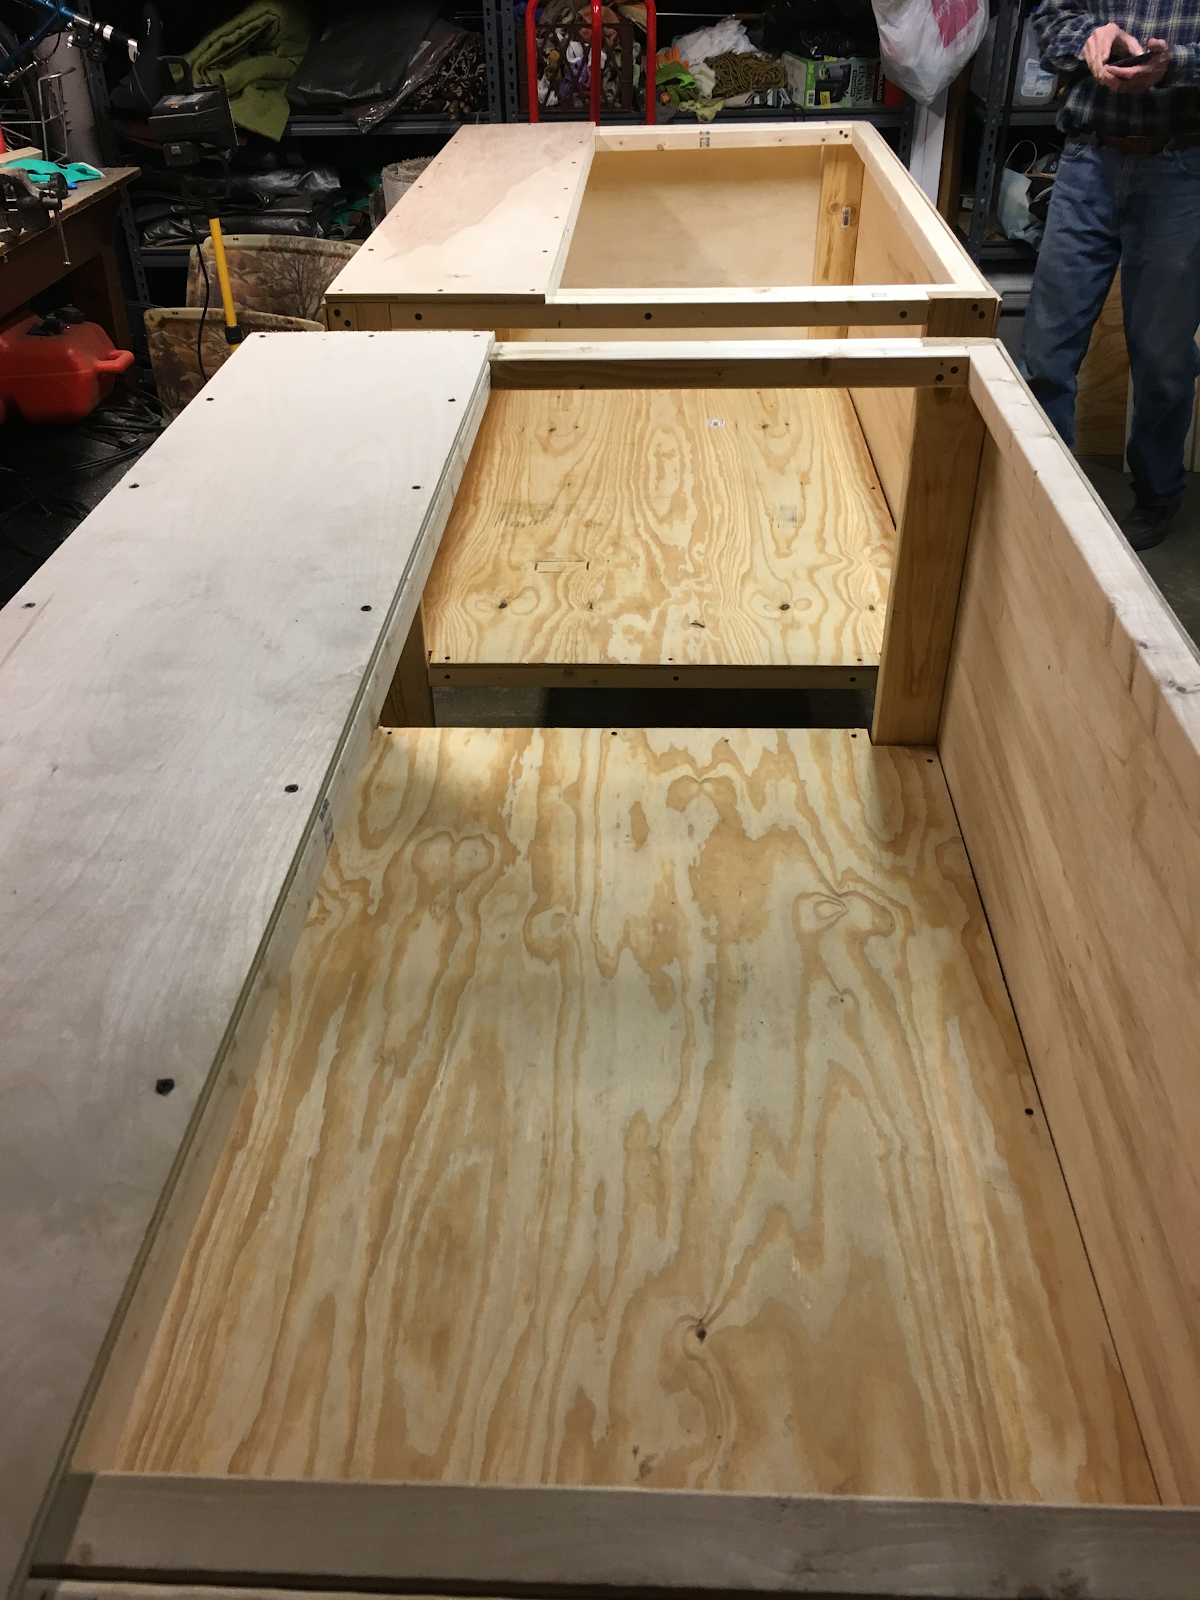
When creating the frame, we used L brackets to support the frame/plywood from underneath. Both of the pieces of plywood were also screwed into the frame. We also used T brackets to support where needed. This probably wasn't needed in all places, but it made for an extra sturdy frame.
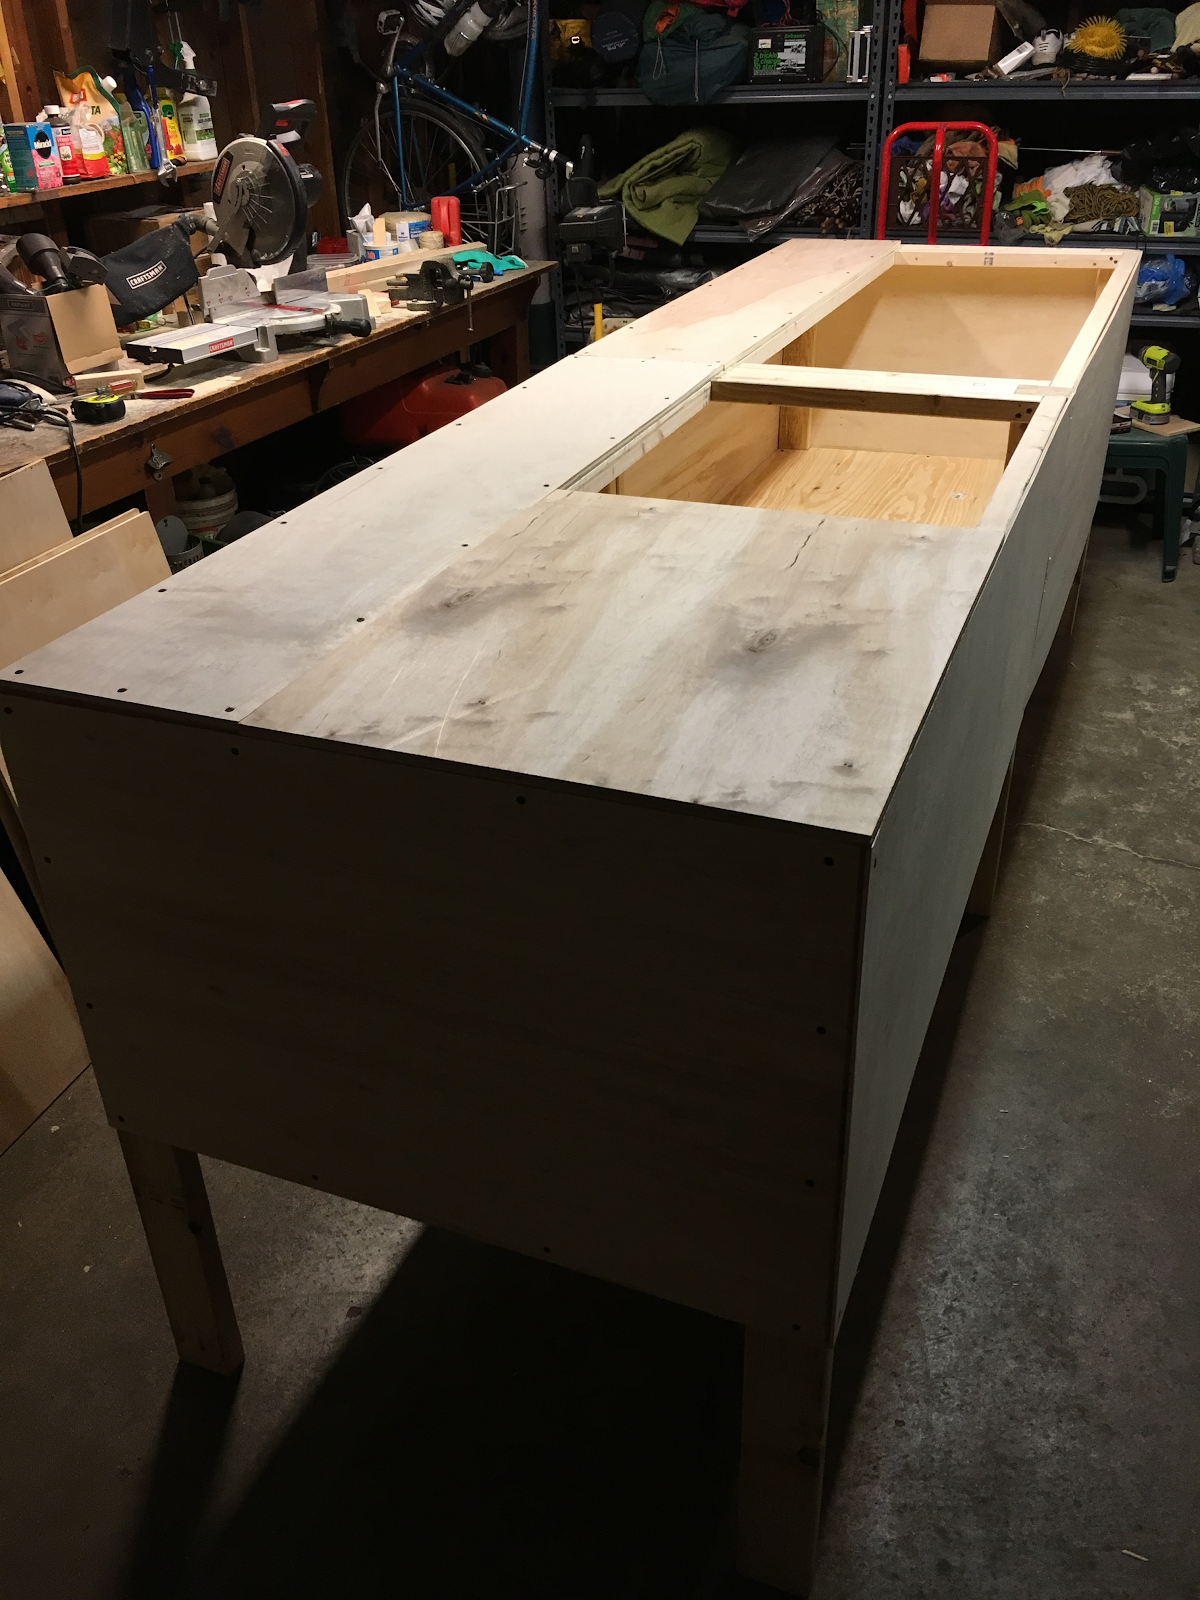
Next came figuring out how to build the top. We ended up putting in an extra piece of 1 x 2 lengthwise to section off a 1’ x 5’ stable area that we could hinge a door to. I was worried that if we created one large door, a lot of heat would be lost every time it was opened. However, we didn’t know how much the wood would potentially warp with the heat/humidity so wanted the doors to be heavy enough to prevent against this. We ended up going with ½ inch plywood and making two 2’x 2’ doors, with an extra half foot of framing on either side.
To waterproof the inside of the cages, I ordered some liquid rubber (used for roofing) off of Amazon. I ended up getting a 5 gallon bucket for about $150, but I wasn’t sure how much I’d use. We ended up using about 2 gallons of it. We tried applying with brushes and with sponges, and sponges tended to work a little better. We did two layers on most parts. It does still feel kind of sticky (even after it is cured) and was kind of an issue with opening/closing the doors. We lined the doors with black gorilla duct tape on the edges, as well as on the framing so that it wouldn’t stick as much. This has waterproofed really well. There is one wall in the cage that accidentally did not get coated twice, and this has started to change color due to the UVB bulb right next to it. It doesn’t seem to have affected the wood behind it, though.
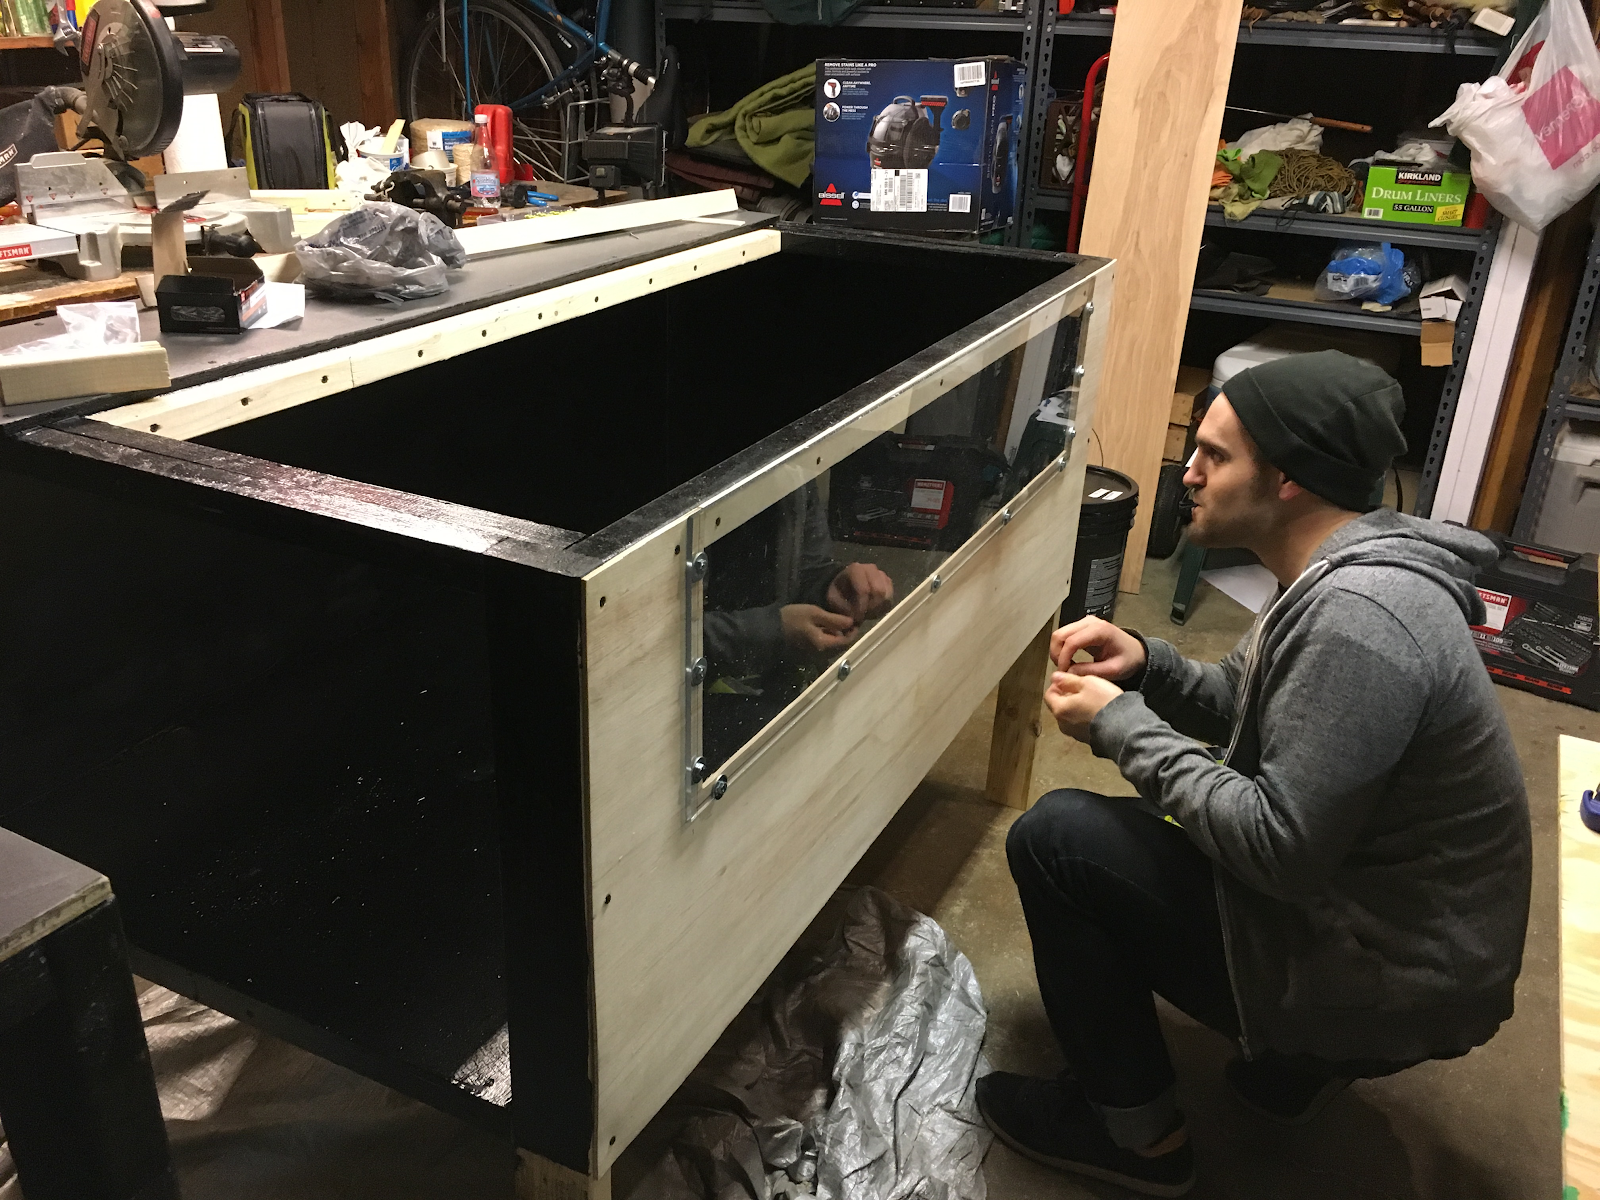
We got a large piece of Plexiglas from Lowe’s and they were able to cut it lengthwise for us. We didn’t want to bring the window too far down as we didn’t want him to constantly see out and get stressed. This ended up being the perfect amount- he likes to climb up and look at us while we are sitting on the couch .
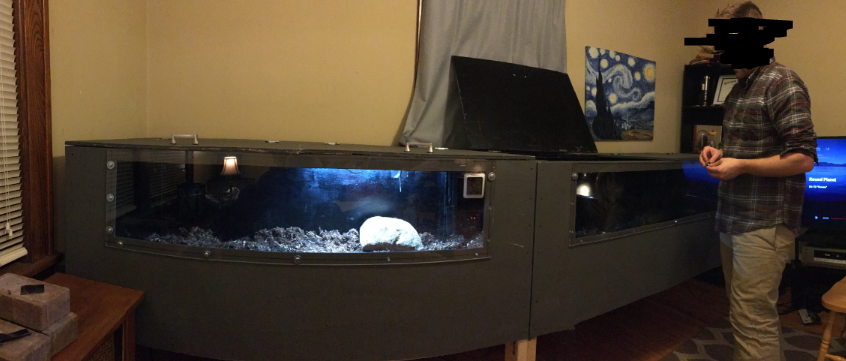
To put both halves together, we ended up drilling a total of eight holes (two through each leg) and using large carriage bolts to hold them together. This has worked really well. Because of the stickiness of the liquid rubber, the two parts have formed a slight seal together. I was going to use some caulk made for outdoor ponds/water features, but ended up not using it and just using a strip of duct tape on top of the crack where both cages meet. Since the cage isn’t in a permanent place, I wanted to make sure it was easy to take apart when needed.
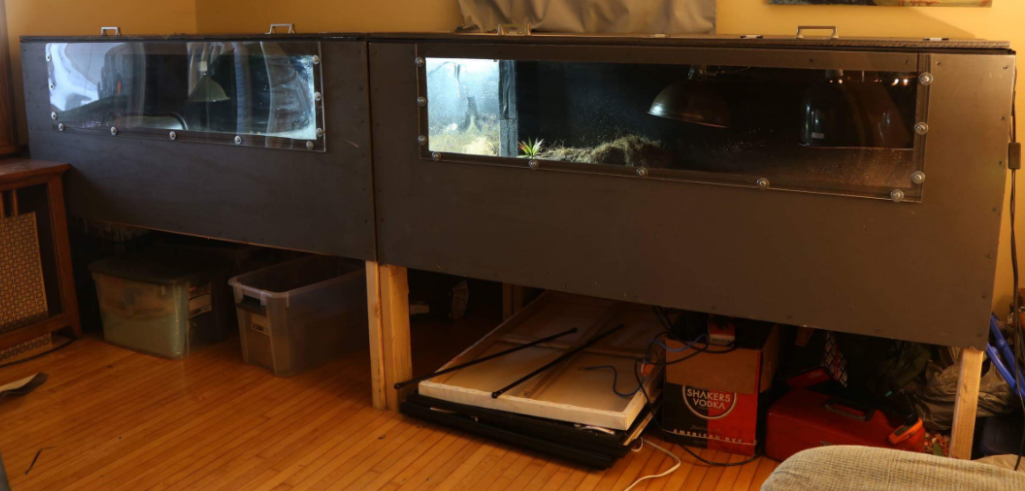
Since the enclosure has been set up, it has maintained a pretty continuous moisture and heat level. The wood on the front did start warping a little bit, as well as the doors, so I used some weather stripping along some of the edges and this helped a lot. We also need to put some more bolts/washers along the top of the Plexiglas as there is a moderate gap here.
If I were to do this again: I also would have had Home Depot/Lowes do the large cuts ahead of time. We only found out after we had done most of the cutting that you can pay $0.50 per cut, and this would have saved us a lot of time.I would change dimensions to 8’ x 4’ considering that is the size that plywood already comes in. We ended up with more waste and it would have been much cheaper to go with this size. After all was said and done, we spent around $500 on this project. It could have been done cheaper and more efficiently, but I am happy with the end result.
We had to design a tortoise enclosure that held heat and humidity, was waterproof, and also was detachable because of the dimensions we needed. The room we had to build it for only had space for a long enclosure- we determined that the maximum size we could do was 10’ x 3’.
I had almost no experience with building, and enlisted my dad to help me. We determined that we would make two 5’ x 3’ boxes basically, and find a way to attach them in the middle. Below is a picture of starting the frames of both pieces.
When creating the frame, we used L brackets to support the frame/plywood from underneath. Both of the pieces of plywood were also screwed into the frame. We also used T brackets to support where needed. This probably wasn't needed in all places, but it made for an extra sturdy frame.
Next came figuring out how to build the top. We ended up putting in an extra piece of 1 x 2 lengthwise to section off a 1’ x 5’ stable area that we could hinge a door to. I was worried that if we created one large door, a lot of heat would be lost every time it was opened. However, we didn’t know how much the wood would potentially warp with the heat/humidity so wanted the doors to be heavy enough to prevent against this. We ended up going with ½ inch plywood and making two 2’x 2’ doors, with an extra half foot of framing on either side.
To waterproof the inside of the cages, I ordered some liquid rubber (used for roofing) off of Amazon. I ended up getting a 5 gallon bucket for about $150, but I wasn’t sure how much I’d use. We ended up using about 2 gallons of it. We tried applying with brushes and with sponges, and sponges tended to work a little better. We did two layers on most parts. It does still feel kind of sticky (even after it is cured) and was kind of an issue with opening/closing the doors. We lined the doors with black gorilla duct tape on the edges, as well as on the framing so that it wouldn’t stick as much. This has waterproofed really well. There is one wall in the cage that accidentally did not get coated twice, and this has started to change color due to the UVB bulb right next to it. It doesn’t seem to have affected the wood behind it, though.
We got a large piece of Plexiglas from Lowe’s and they were able to cut it lengthwise for us. We didn’t want to bring the window too far down as we didn’t want him to constantly see out and get stressed. This ended up being the perfect amount- he likes to climb up and look at us while we are sitting on the couch .
To put both halves together, we ended up drilling a total of eight holes (two through each leg) and using large carriage bolts to hold them together. This has worked really well. Because of the stickiness of the liquid rubber, the two parts have formed a slight seal together. I was going to use some caulk made for outdoor ponds/water features, but ended up not using it and just using a strip of duct tape on top of the crack where both cages meet. Since the cage isn’t in a permanent place, I wanted to make sure it was easy to take apart when needed.
Since the enclosure has been set up, it has maintained a pretty continuous moisture and heat level. The wood on the front did start warping a little bit, as well as the doors, so I used some weather stripping along some of the edges and this helped a lot. We also need to put some more bolts/washers along the top of the Plexiglas as there is a moderate gap here.
If I were to do this again: I also would have had Home Depot/Lowes do the large cuts ahead of time. We only found out after we had done most of the cutting that you can pay $0.50 per cut, and this would have saved us a lot of time.I would change dimensions to 8’ x 4’ considering that is the size that plywood already comes in. We ended up with more waste and it would have been much cheaper to go with this size. After all was said and done, we spent around $500 on this project. It could have been done cheaper and more efficiently, but I am happy with the end result.