This is my first time building an outdoors tortoise enclosure so I thought I'd do a journal showing my progress and hopefully some of you more experienced tortoise keepers can give me feed back as I go on what I'm doing right and what I'm doing wrong.
The tortoise this is for is my adult female Russian tortoise who I took in a few weeks ago after it had been abandoned by its previous owners. Right now she's living in some what cramp conditions(35 gallon Rubbermaid) due to the fact I wasn't ready really to take in a tortoise. All her needs are being met however and she's doing good.
I was going to purchase new materials and start from scratch but I then decided to salvage and recycle an old shelf unit my father built for my brother when we were kids at least 12 years ago and now has just been sitting in the garage gathering dust, spiders, and taking up space. Its around 4 1/2ft by 3ft and about 16inches tall, not as long as I was originally planning but it seems like it should work. If needed I could always make additions to it in the future. For now my main focus is getting her outside and into a larger enclosure.
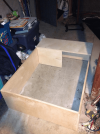
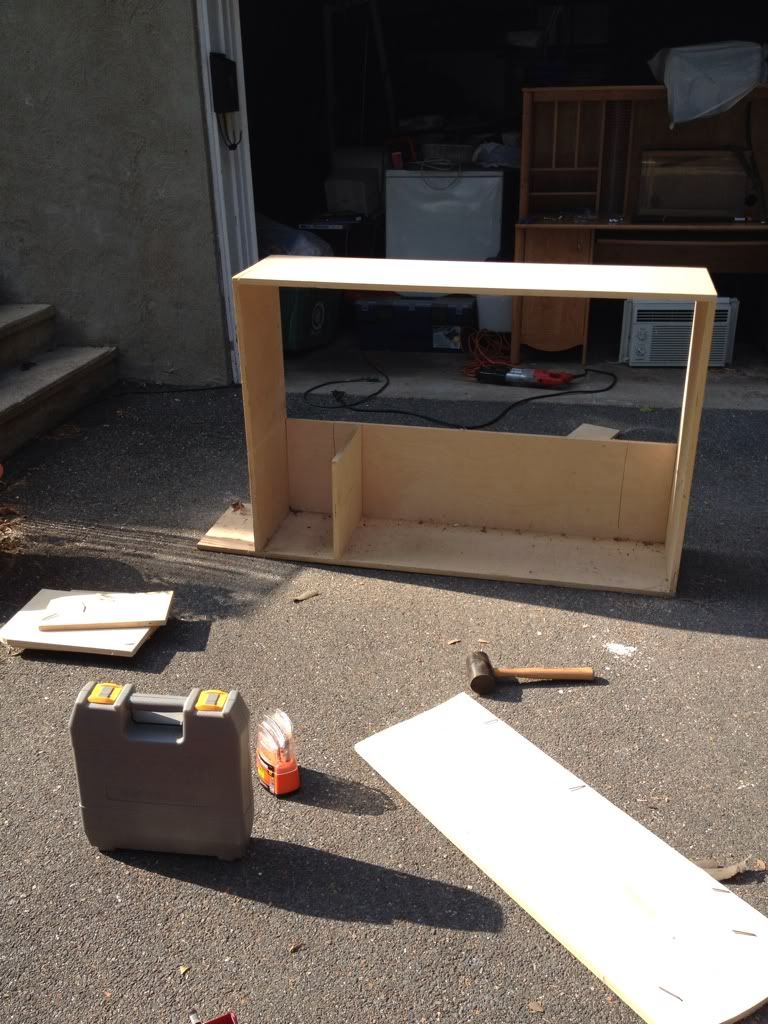
I started by taking out all the shelving. This surprisingly was not too difficult considering back when this was made my father was nail happy when it came to building. Also please excuse the mess in the garage, my family is currently storing some items for my uncle along with junk we probably don't need like the shelf I'm using for this project and it's a real mess lol. This picture is after tearing out most of the selves and some of the backing.
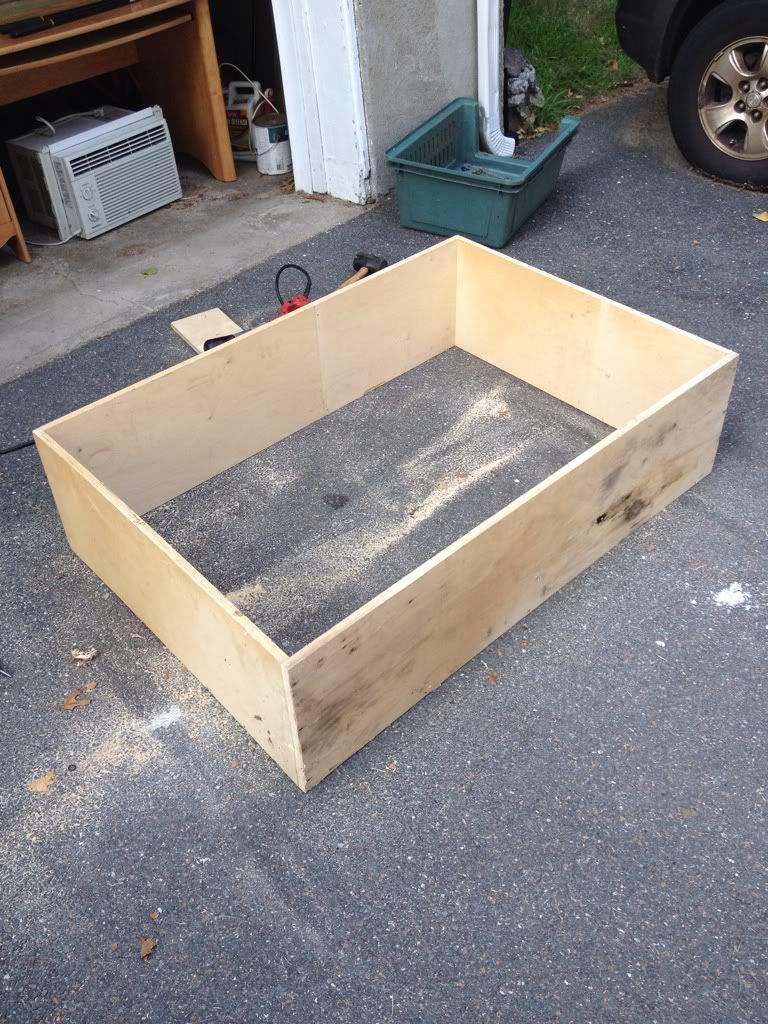
The next part was a real pain though. The wood was filled with nails that I had to removing and it turned out it wasn't just as simply as hammering them back out. I finally figure out a system using pliers and pulled out all the nails with minimal damage to the wood.
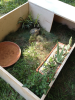
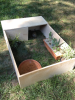
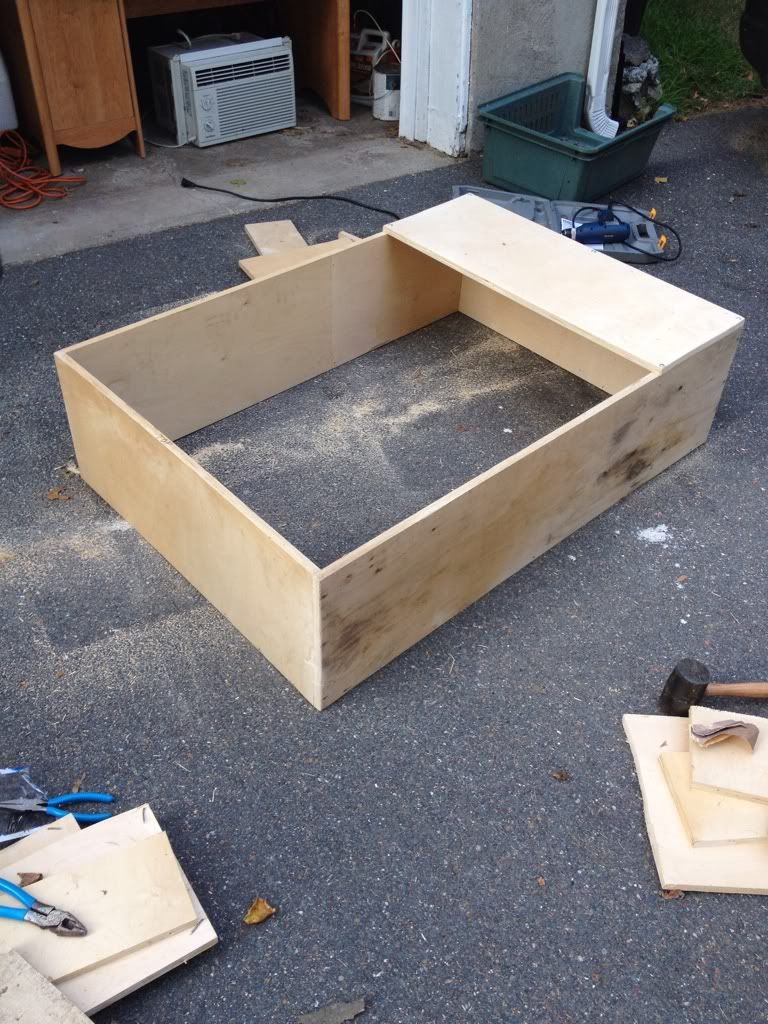
The next thing I did was take one of the shelves I had torn out and screwed it on one end for a shaded area. After that I just sanded down all the rough edges.
It is still not finished as I have to still figure out what part of the yard will be the best spot to put this, put on a predator proof roof, paint, landscaping, and figuring out what I'll be doing for shelter. I'll post more as it comes! Please leave your opinions of this so I can tweak anything that I'm doing wrong.
The tortoise this is for is my adult female Russian tortoise who I took in a few weeks ago after it had been abandoned by its previous owners. Right now she's living in some what cramp conditions(35 gallon Rubbermaid) due to the fact I wasn't ready really to take in a tortoise. All her needs are being met however and she's doing good.
I was going to purchase new materials and start from scratch but I then decided to salvage and recycle an old shelf unit my father built for my brother when we were kids at least 12 years ago and now has just been sitting in the garage gathering dust, spiders, and taking up space. Its around 4 1/2ft by 3ft and about 16inches tall, not as long as I was originally planning but it seems like it should work. If needed I could always make additions to it in the future. For now my main focus is getting her outside and into a larger enclosure.
I started by taking out all the shelving. This surprisingly was not too difficult considering back when this was made my father was nail happy when it came to building. Also please excuse the mess in the garage, my family is currently storing some items for my uncle along with junk we probably don't need like the shelf I'm using for this project and it's a real mess lol. This picture is after tearing out most of the selves and some of the backing.
The next part was a real pain though. The wood was filled with nails that I had to removing and it turned out it wasn't just as simply as hammering them back out. I finally figure out a system using pliers and pulled out all the nails with minimal damage to the wood.
The next thing I did was take one of the shelves I had torn out and screwed it on one end for a shaded area. After that I just sanded down all the rough edges.
It is still not finished as I have to still figure out what part of the yard will be the best spot to put this, put on a predator proof roof, paint, landscaping, and figuring out what I'll be doing for shelter. I'll post more as it comes! Please leave your opinions of this so I can tweak anything that I'm doing wrong.